编译源码
在构建源码完成之后,就搭建好了阅读源码的环境,此时需要将源码编译打包
编译之前要进行一些配置修改,可以查看import-into-idea.md文档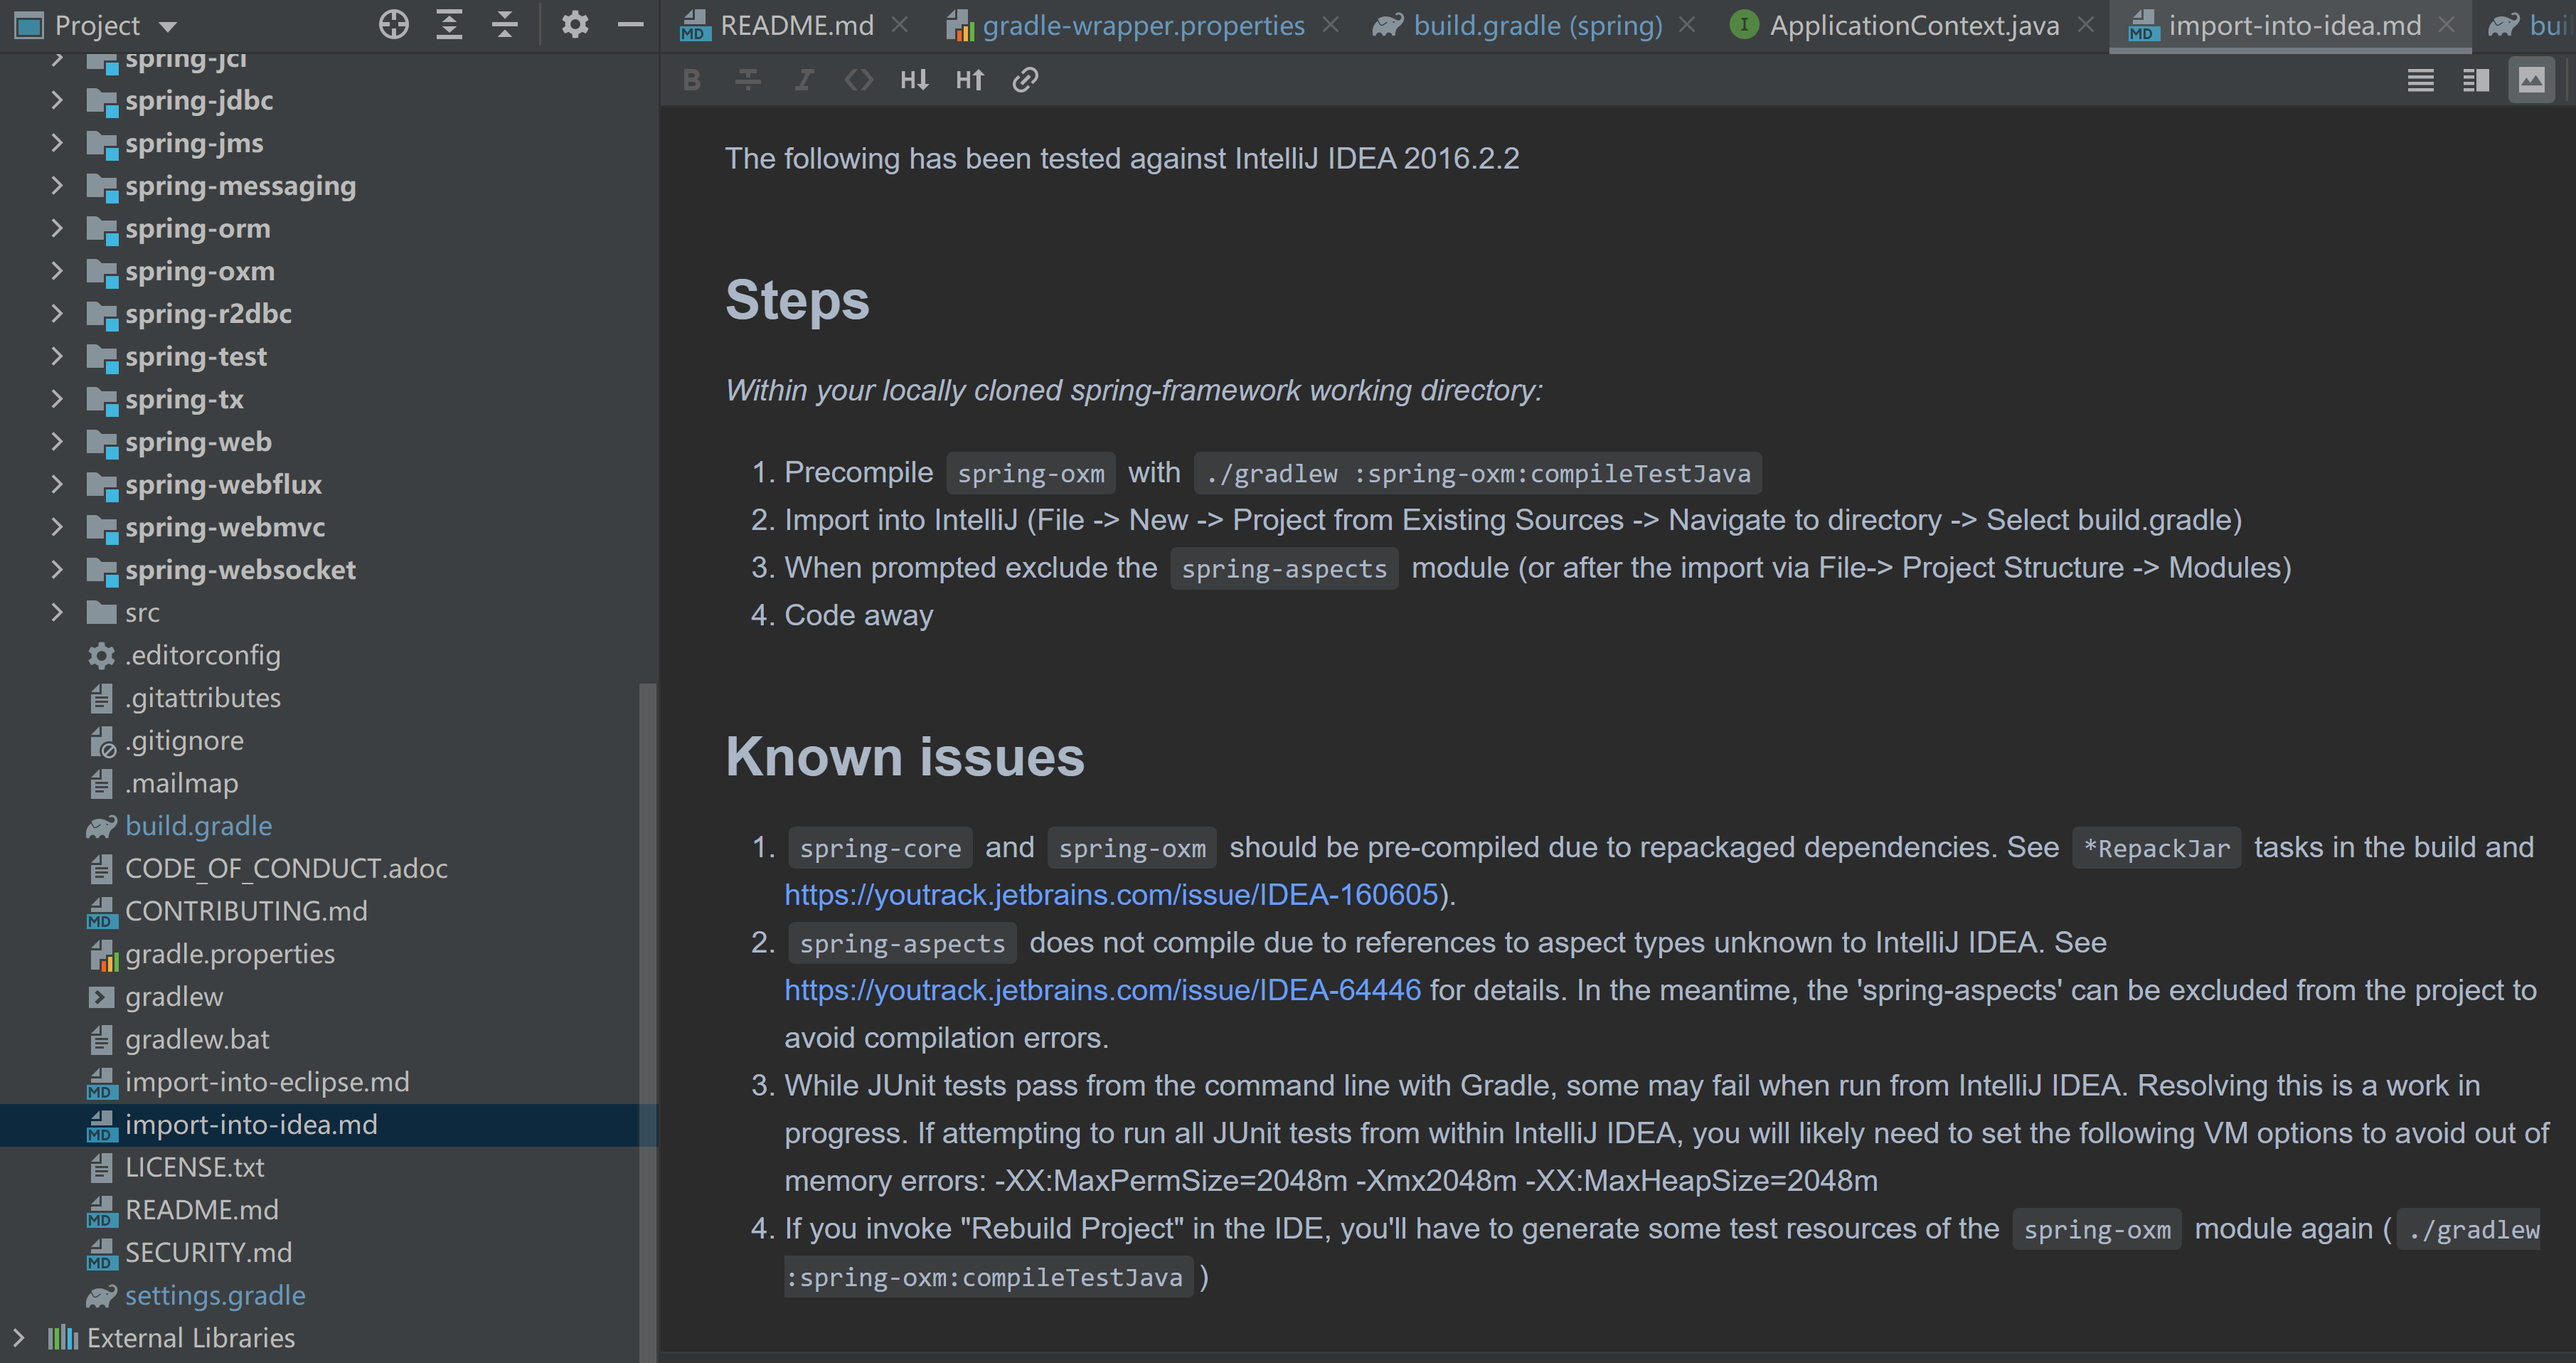
文档中显示要首先编译 spring-oxm ,打开右侧的 gradle ,找到 spring-oxm ,点开Tasks —> other ,双击 compileTestJava 即可编译。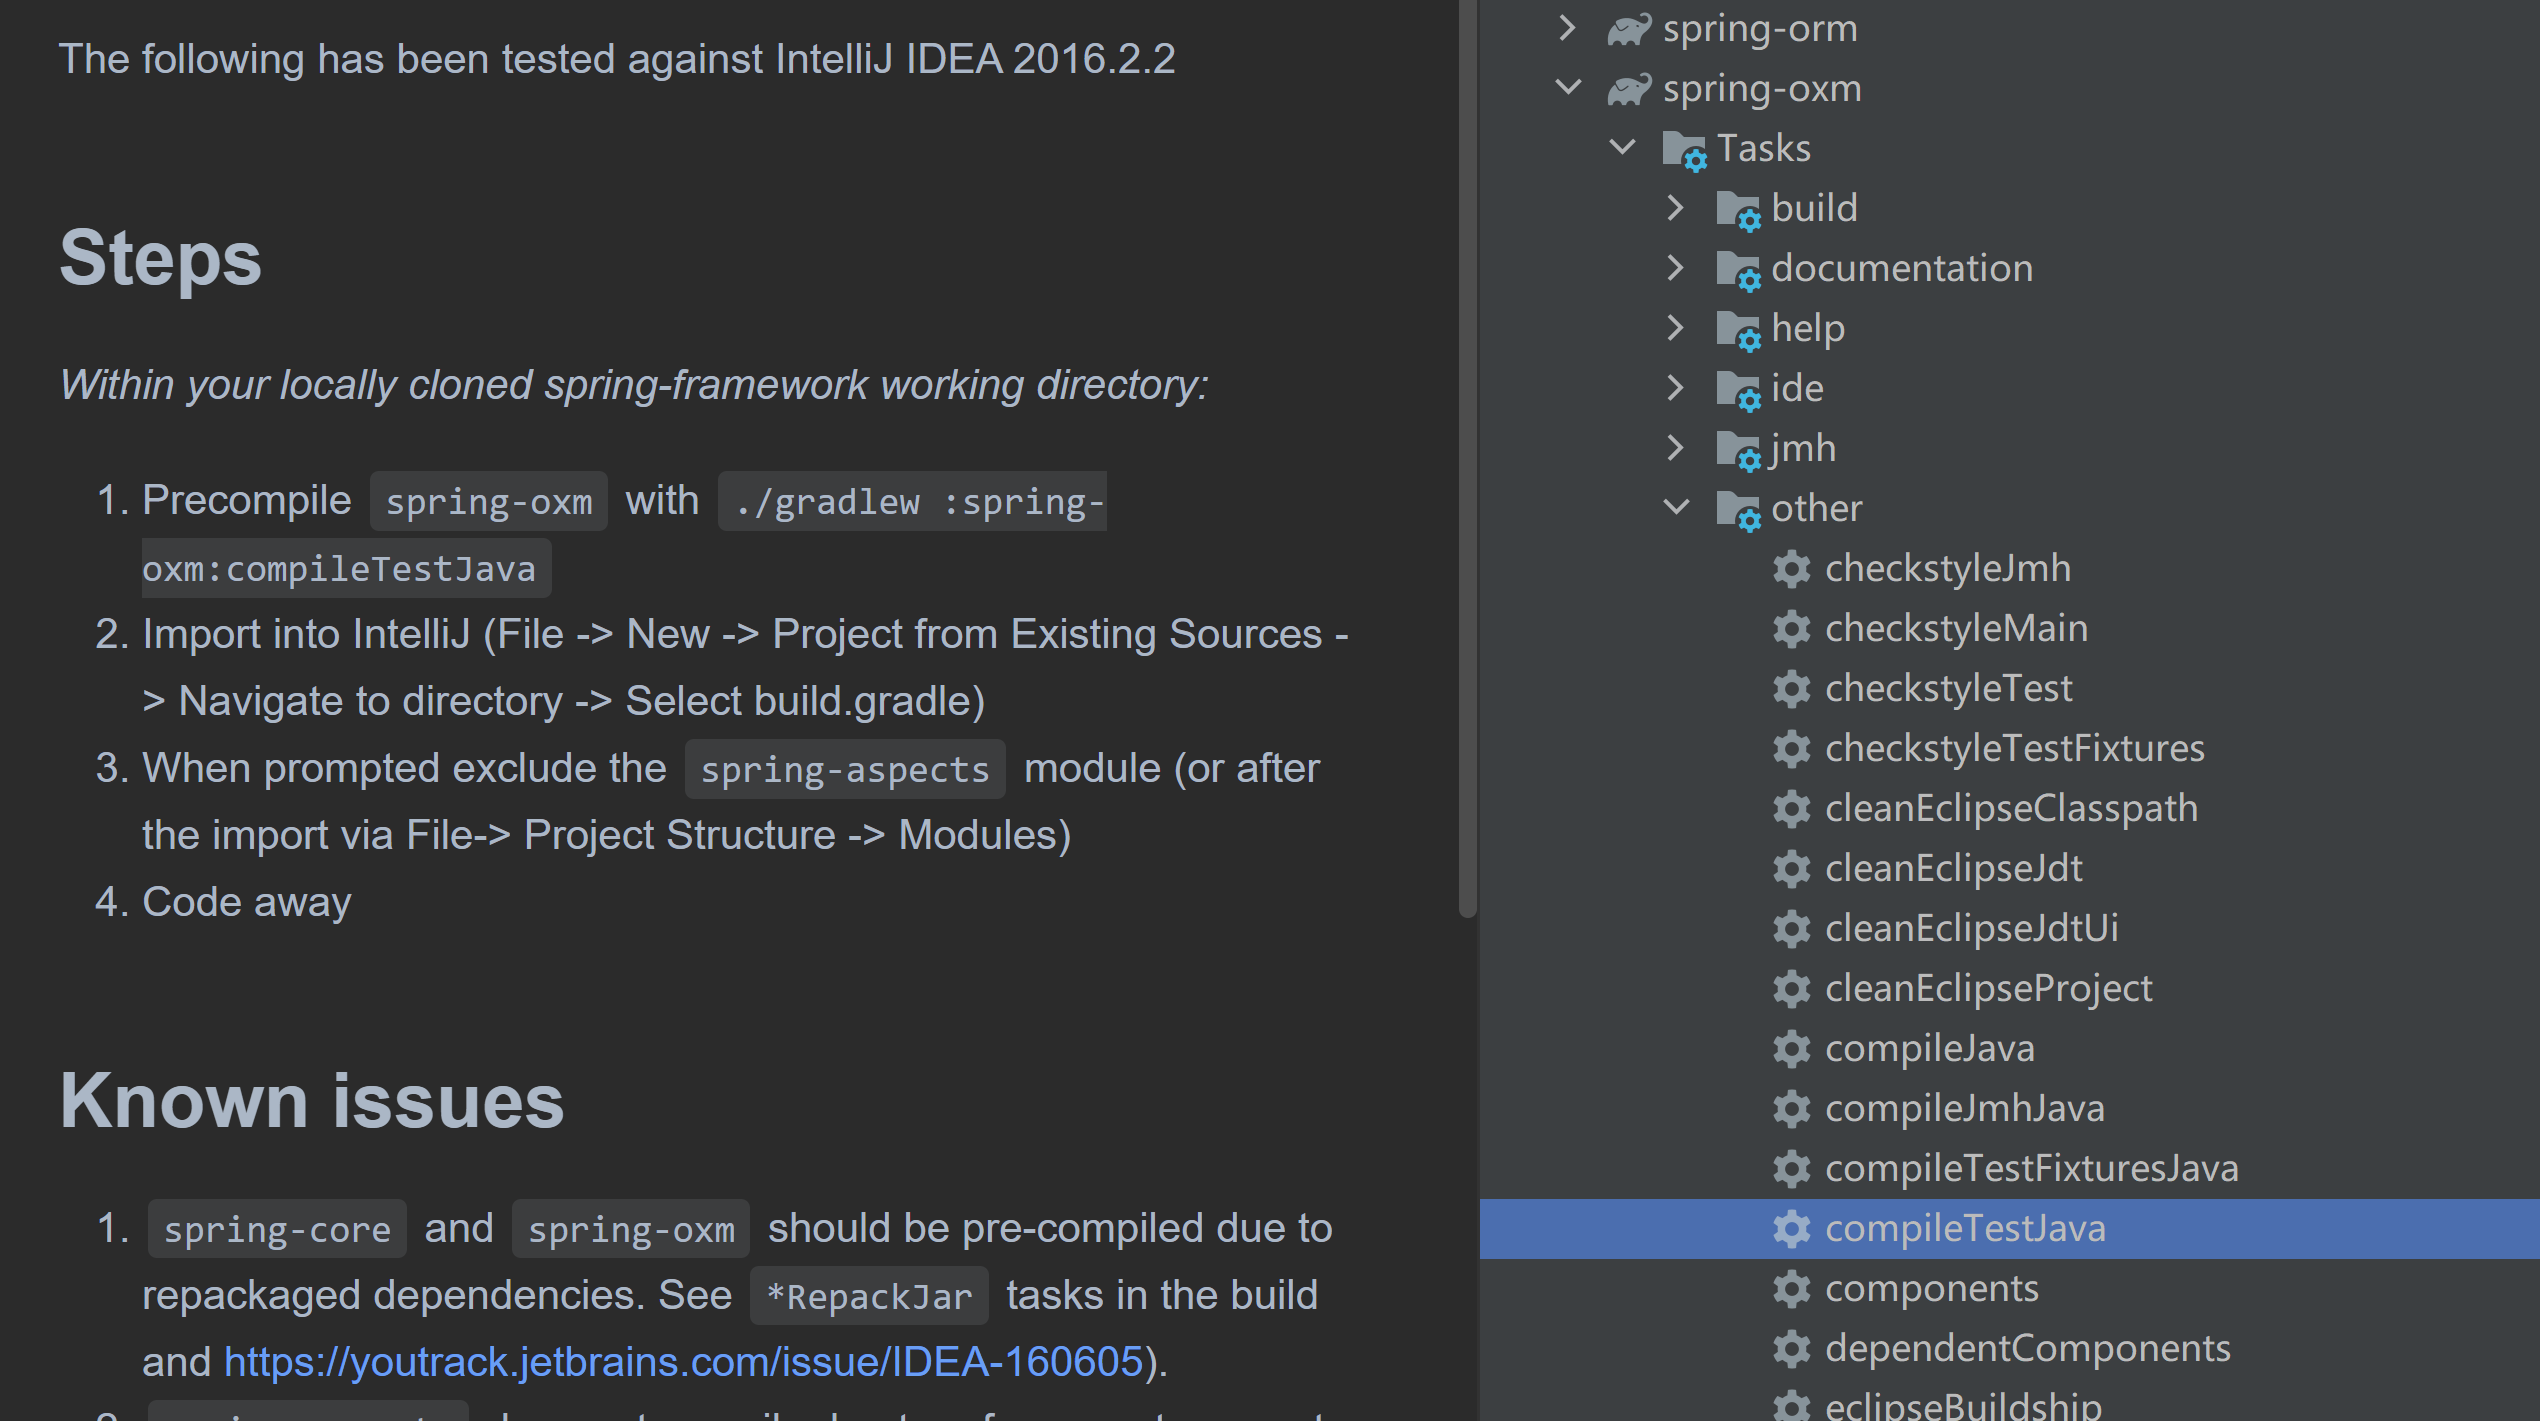
可以再编译 spring-core 模块,因为之后 spring-context 依赖于 core ,方法同上。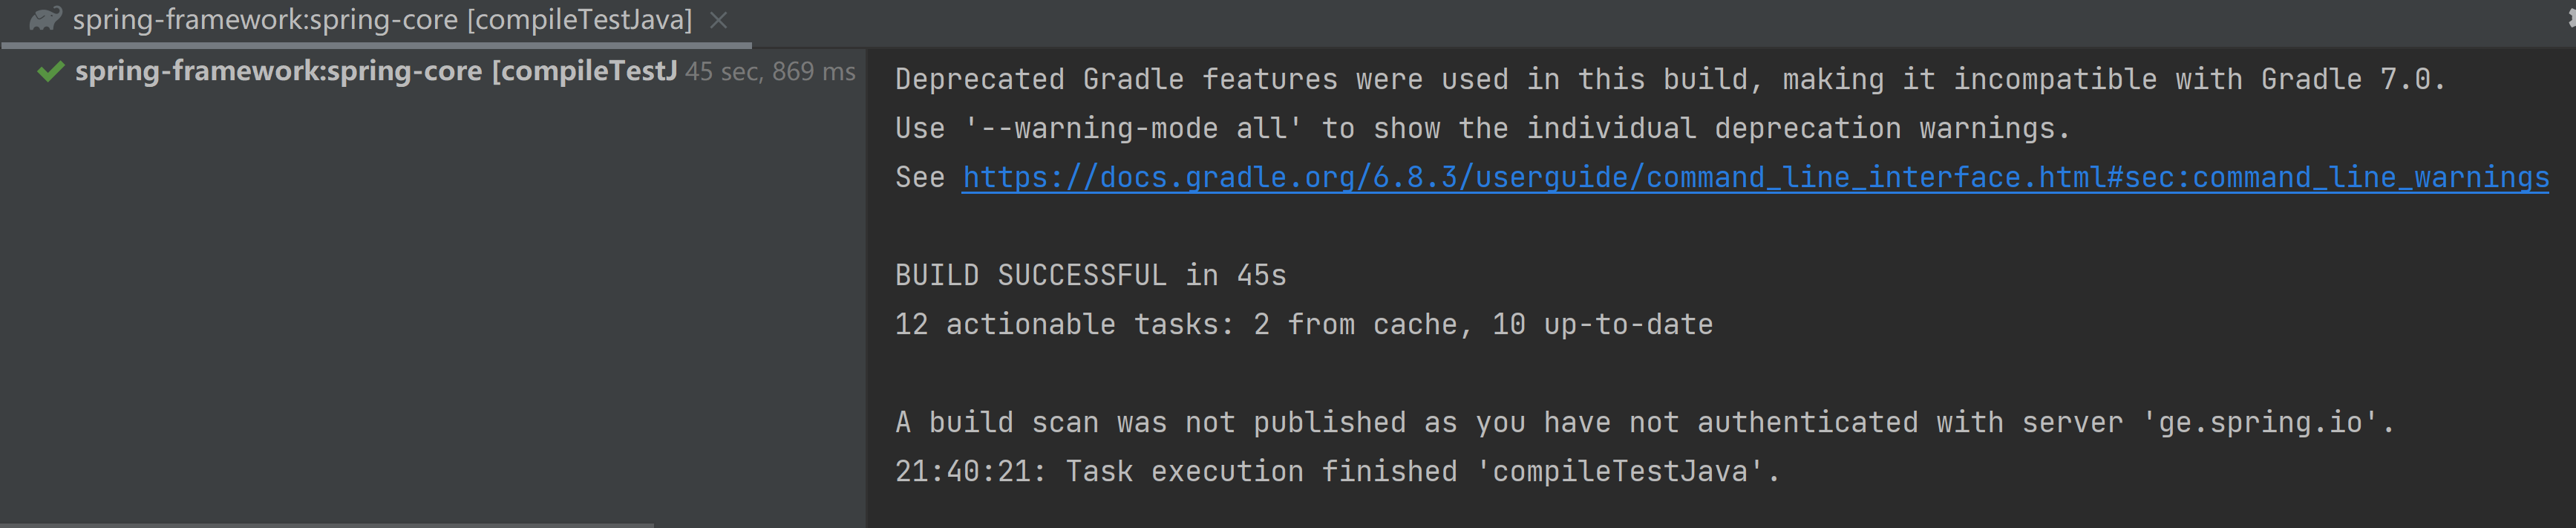
现在可以对所有项目进行编译了,在 spring —> Tasks —> build 中双击 build :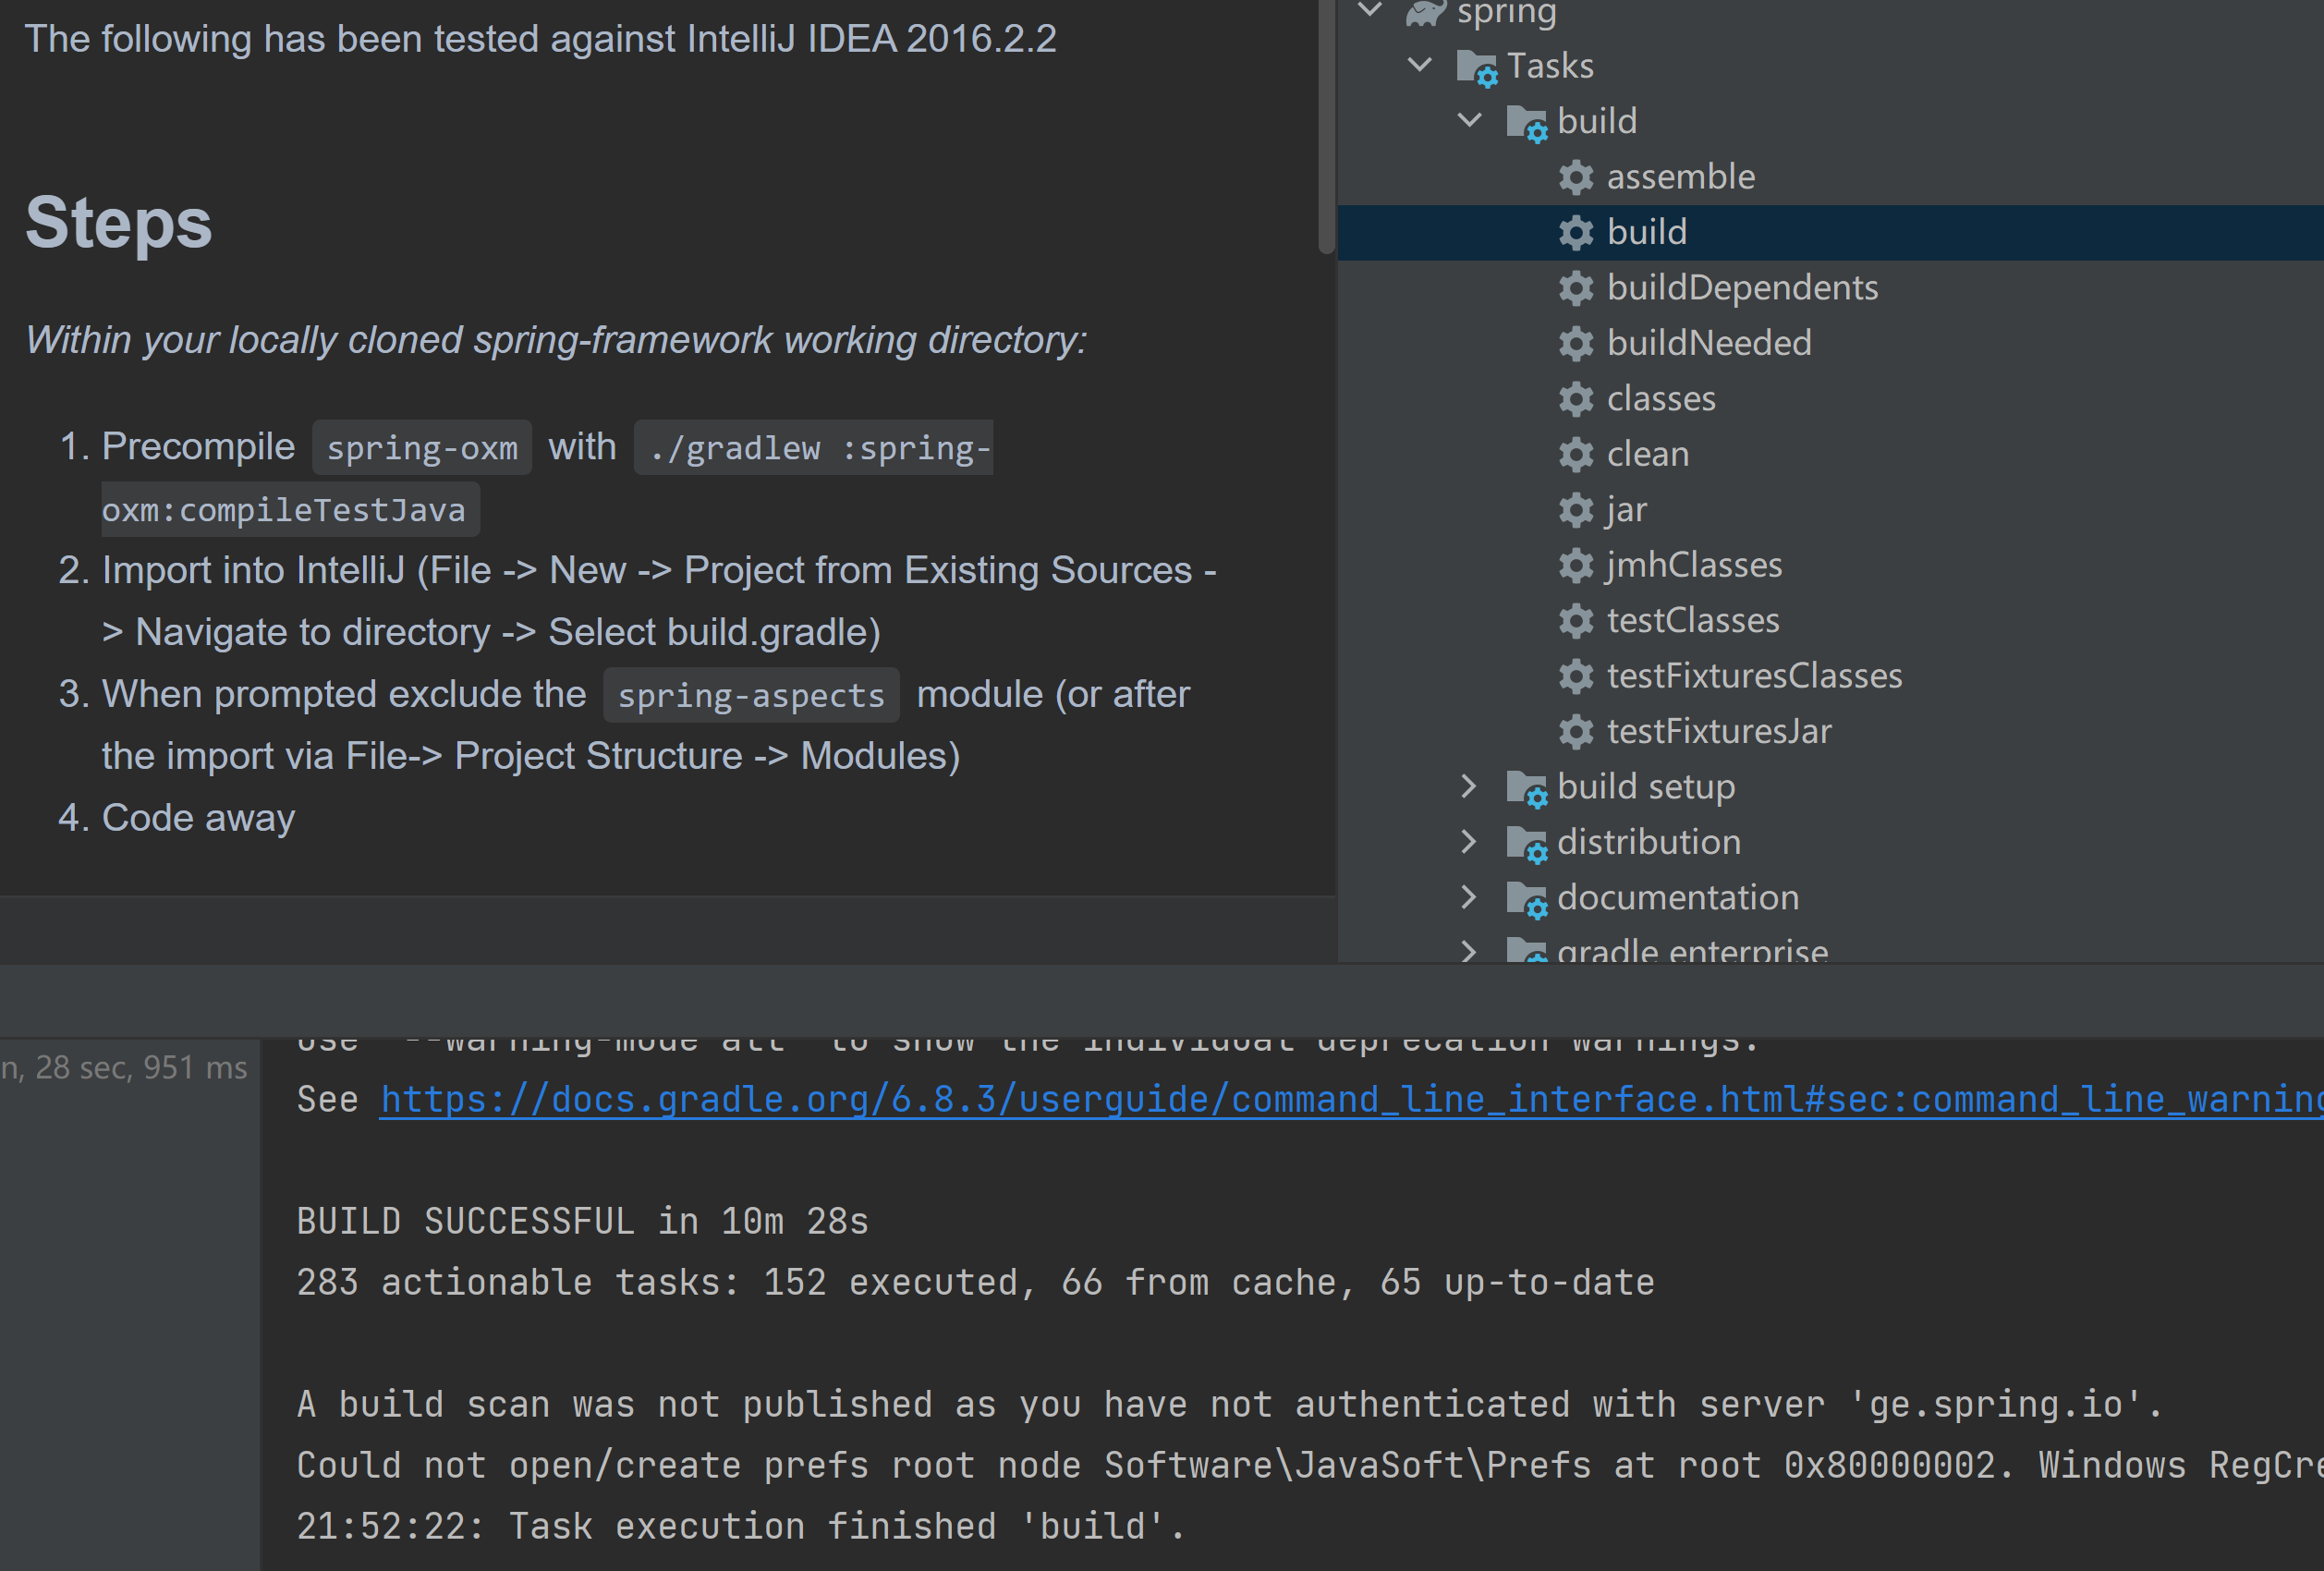
创建test module
基于Java代码配置:无xml,通过@Configuration来声明配置、对象实例化与依赖关系
创建新的gradle module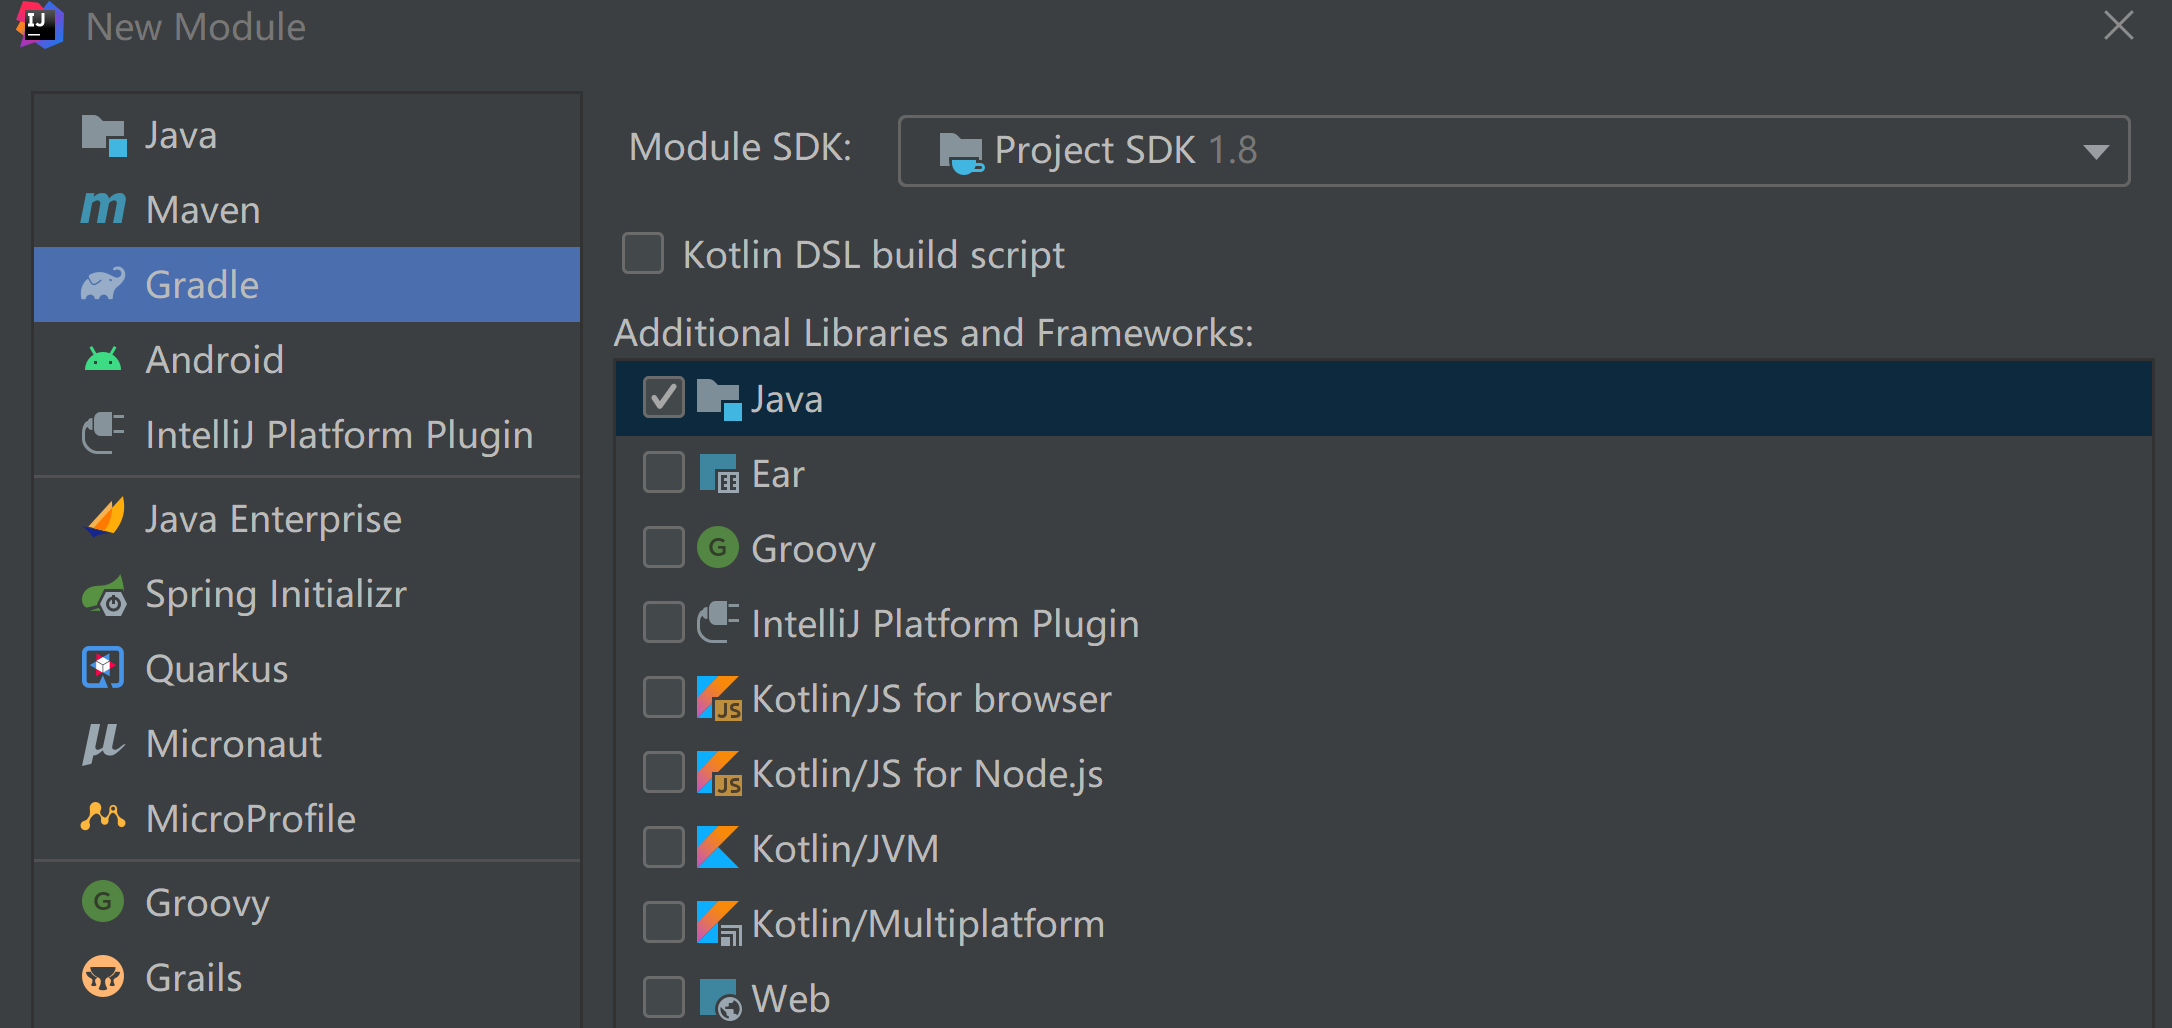
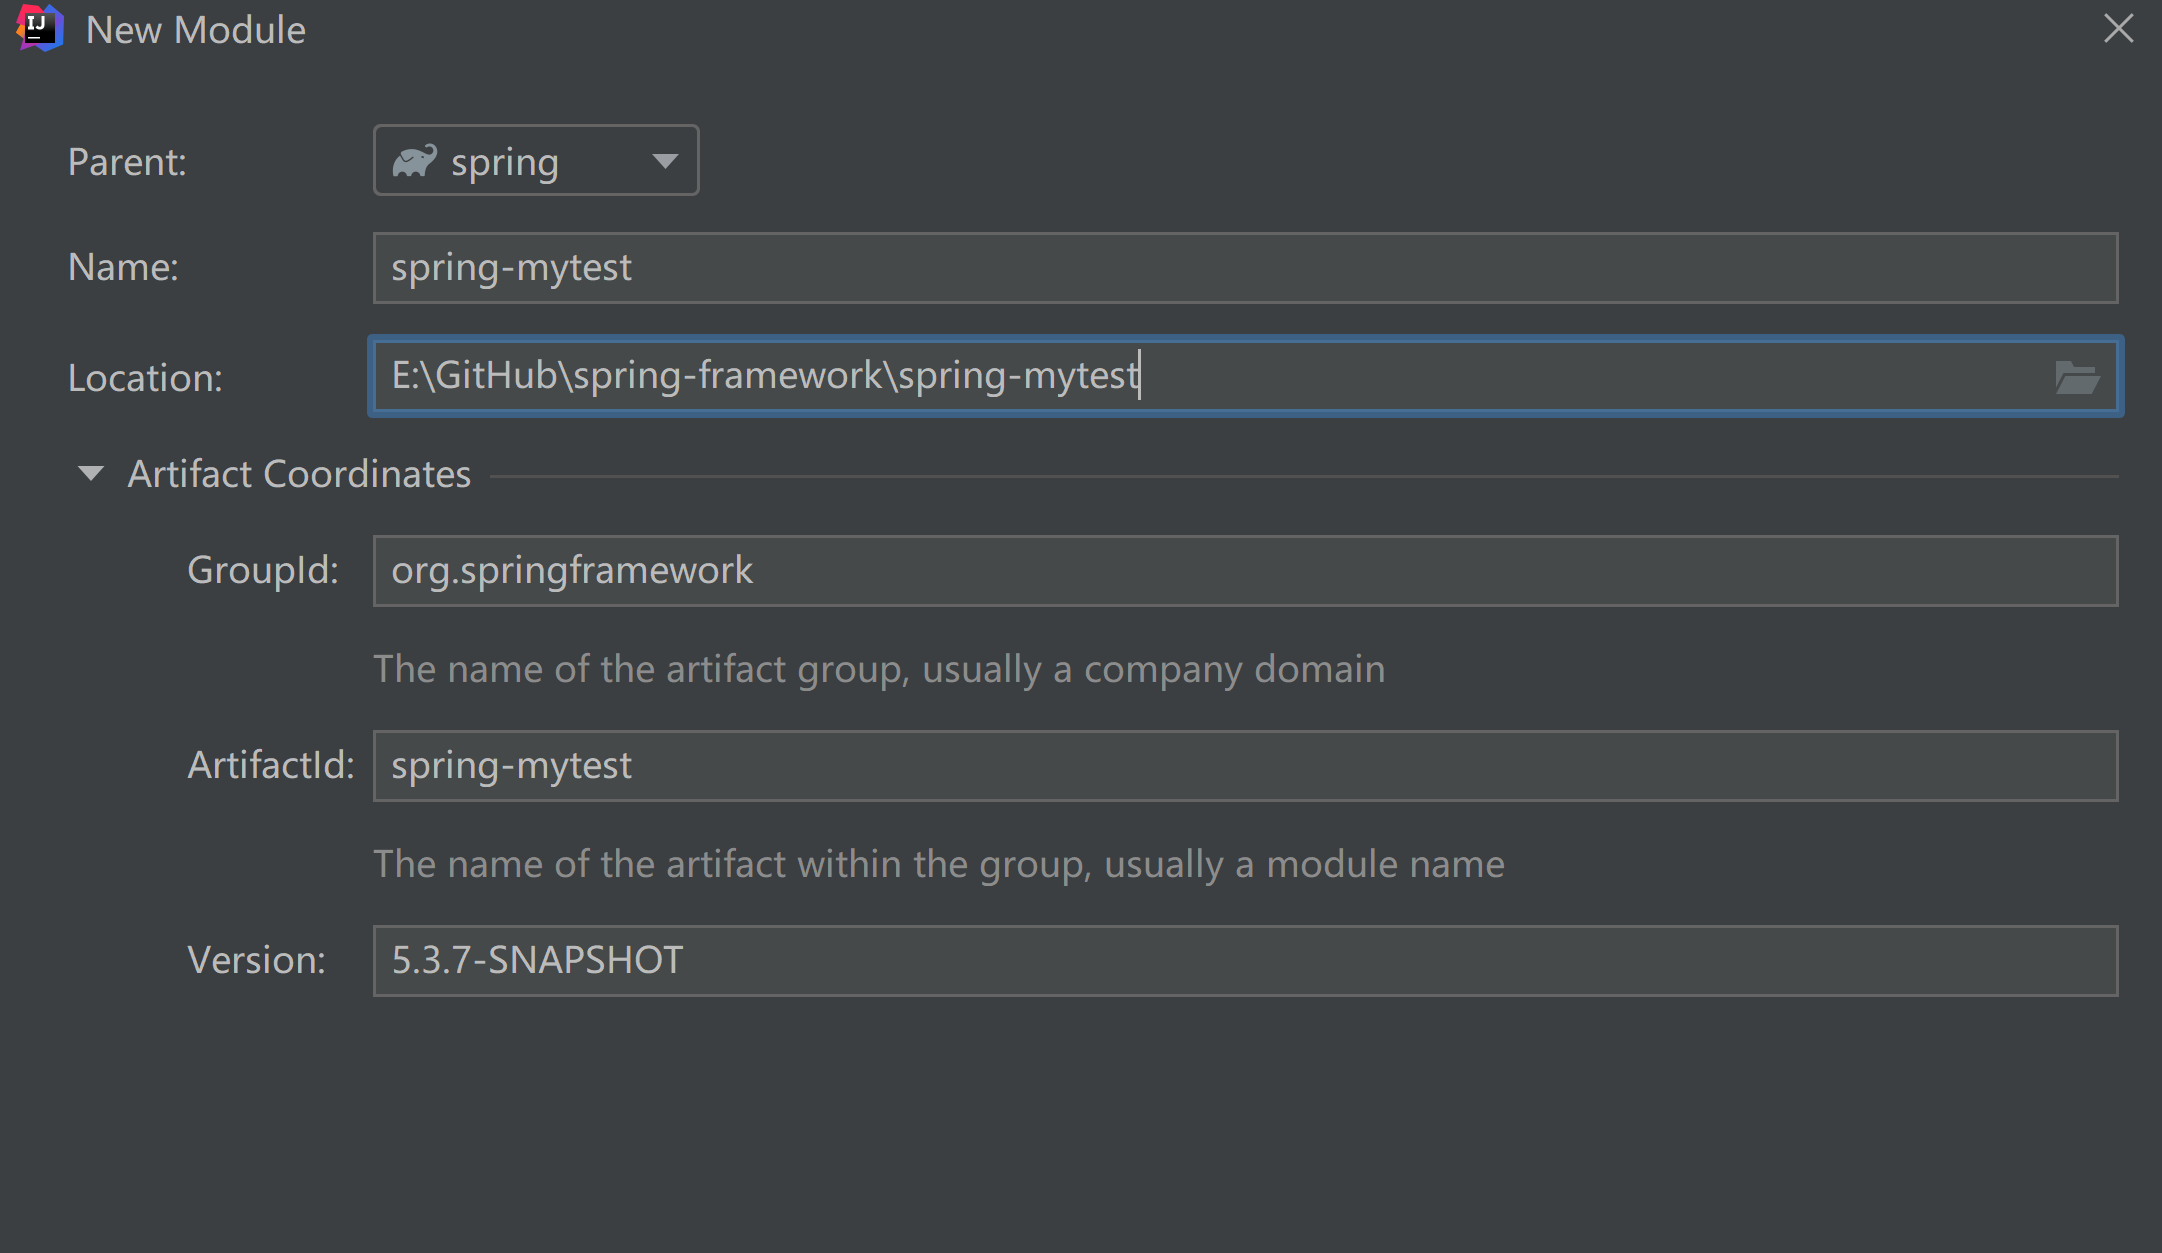
finish 之后会自动在 spring-mytest 中生成一个 build.gradle 文件,全局的 setting.gradle 文件的最下面会自动加上 spring-mytest 模块。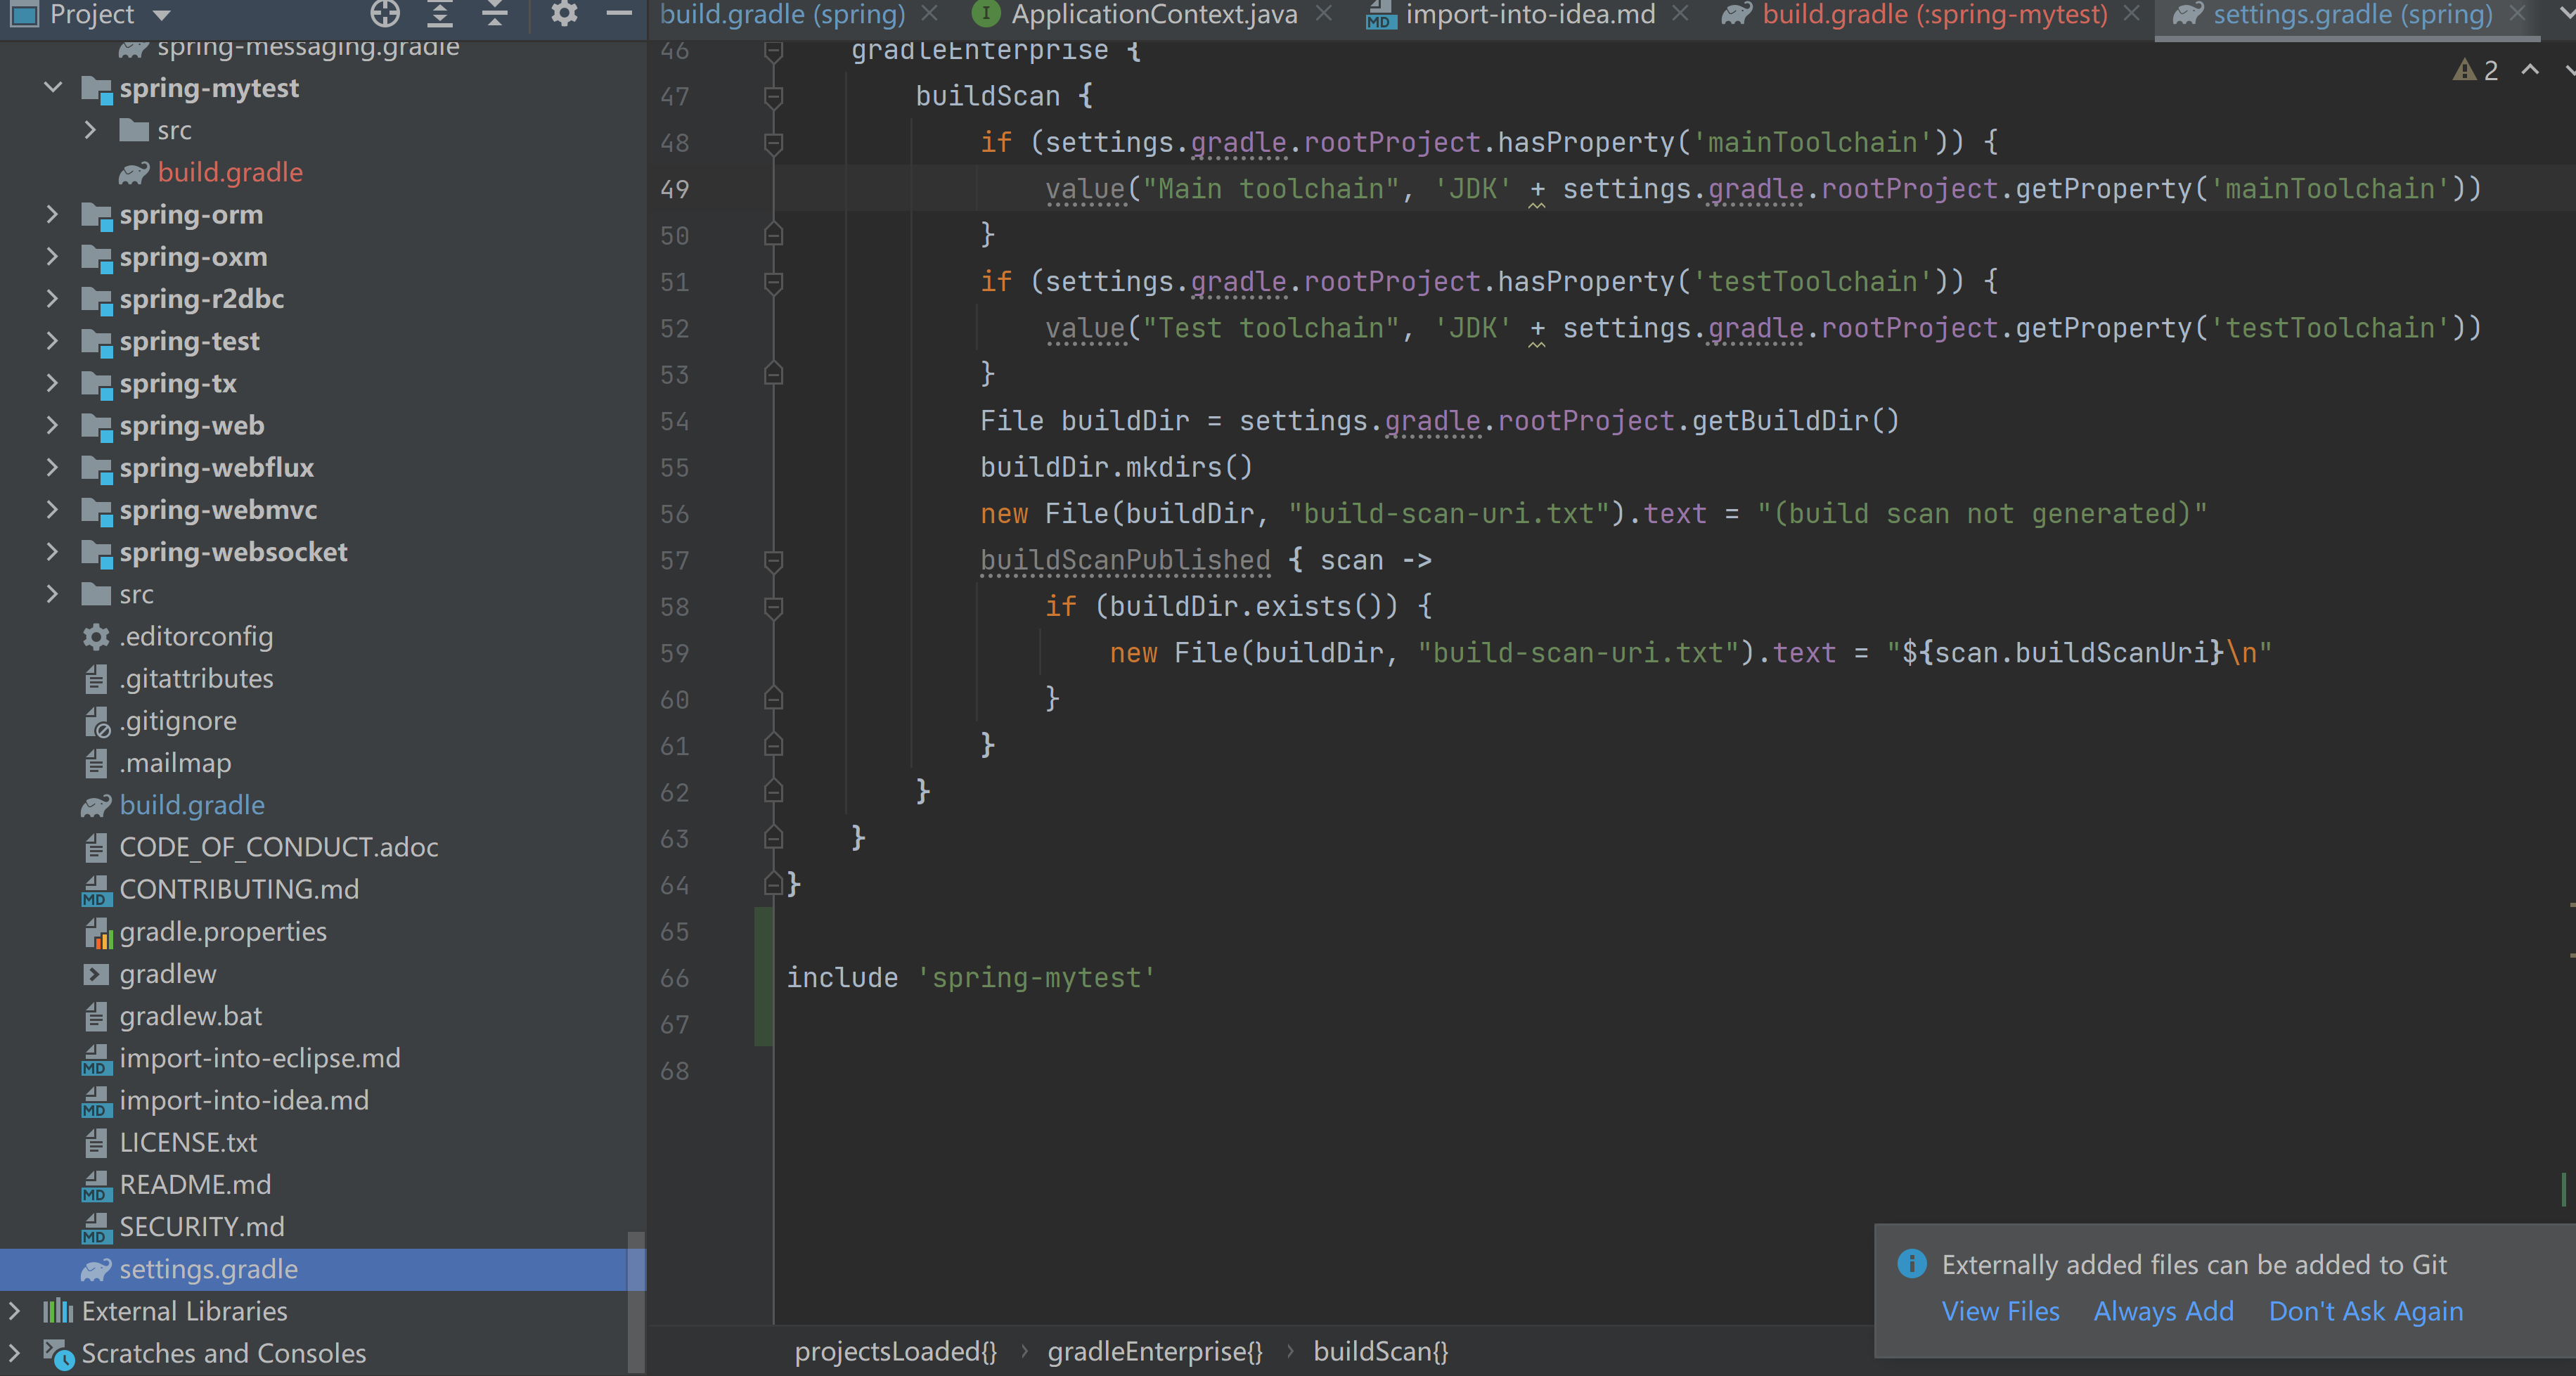
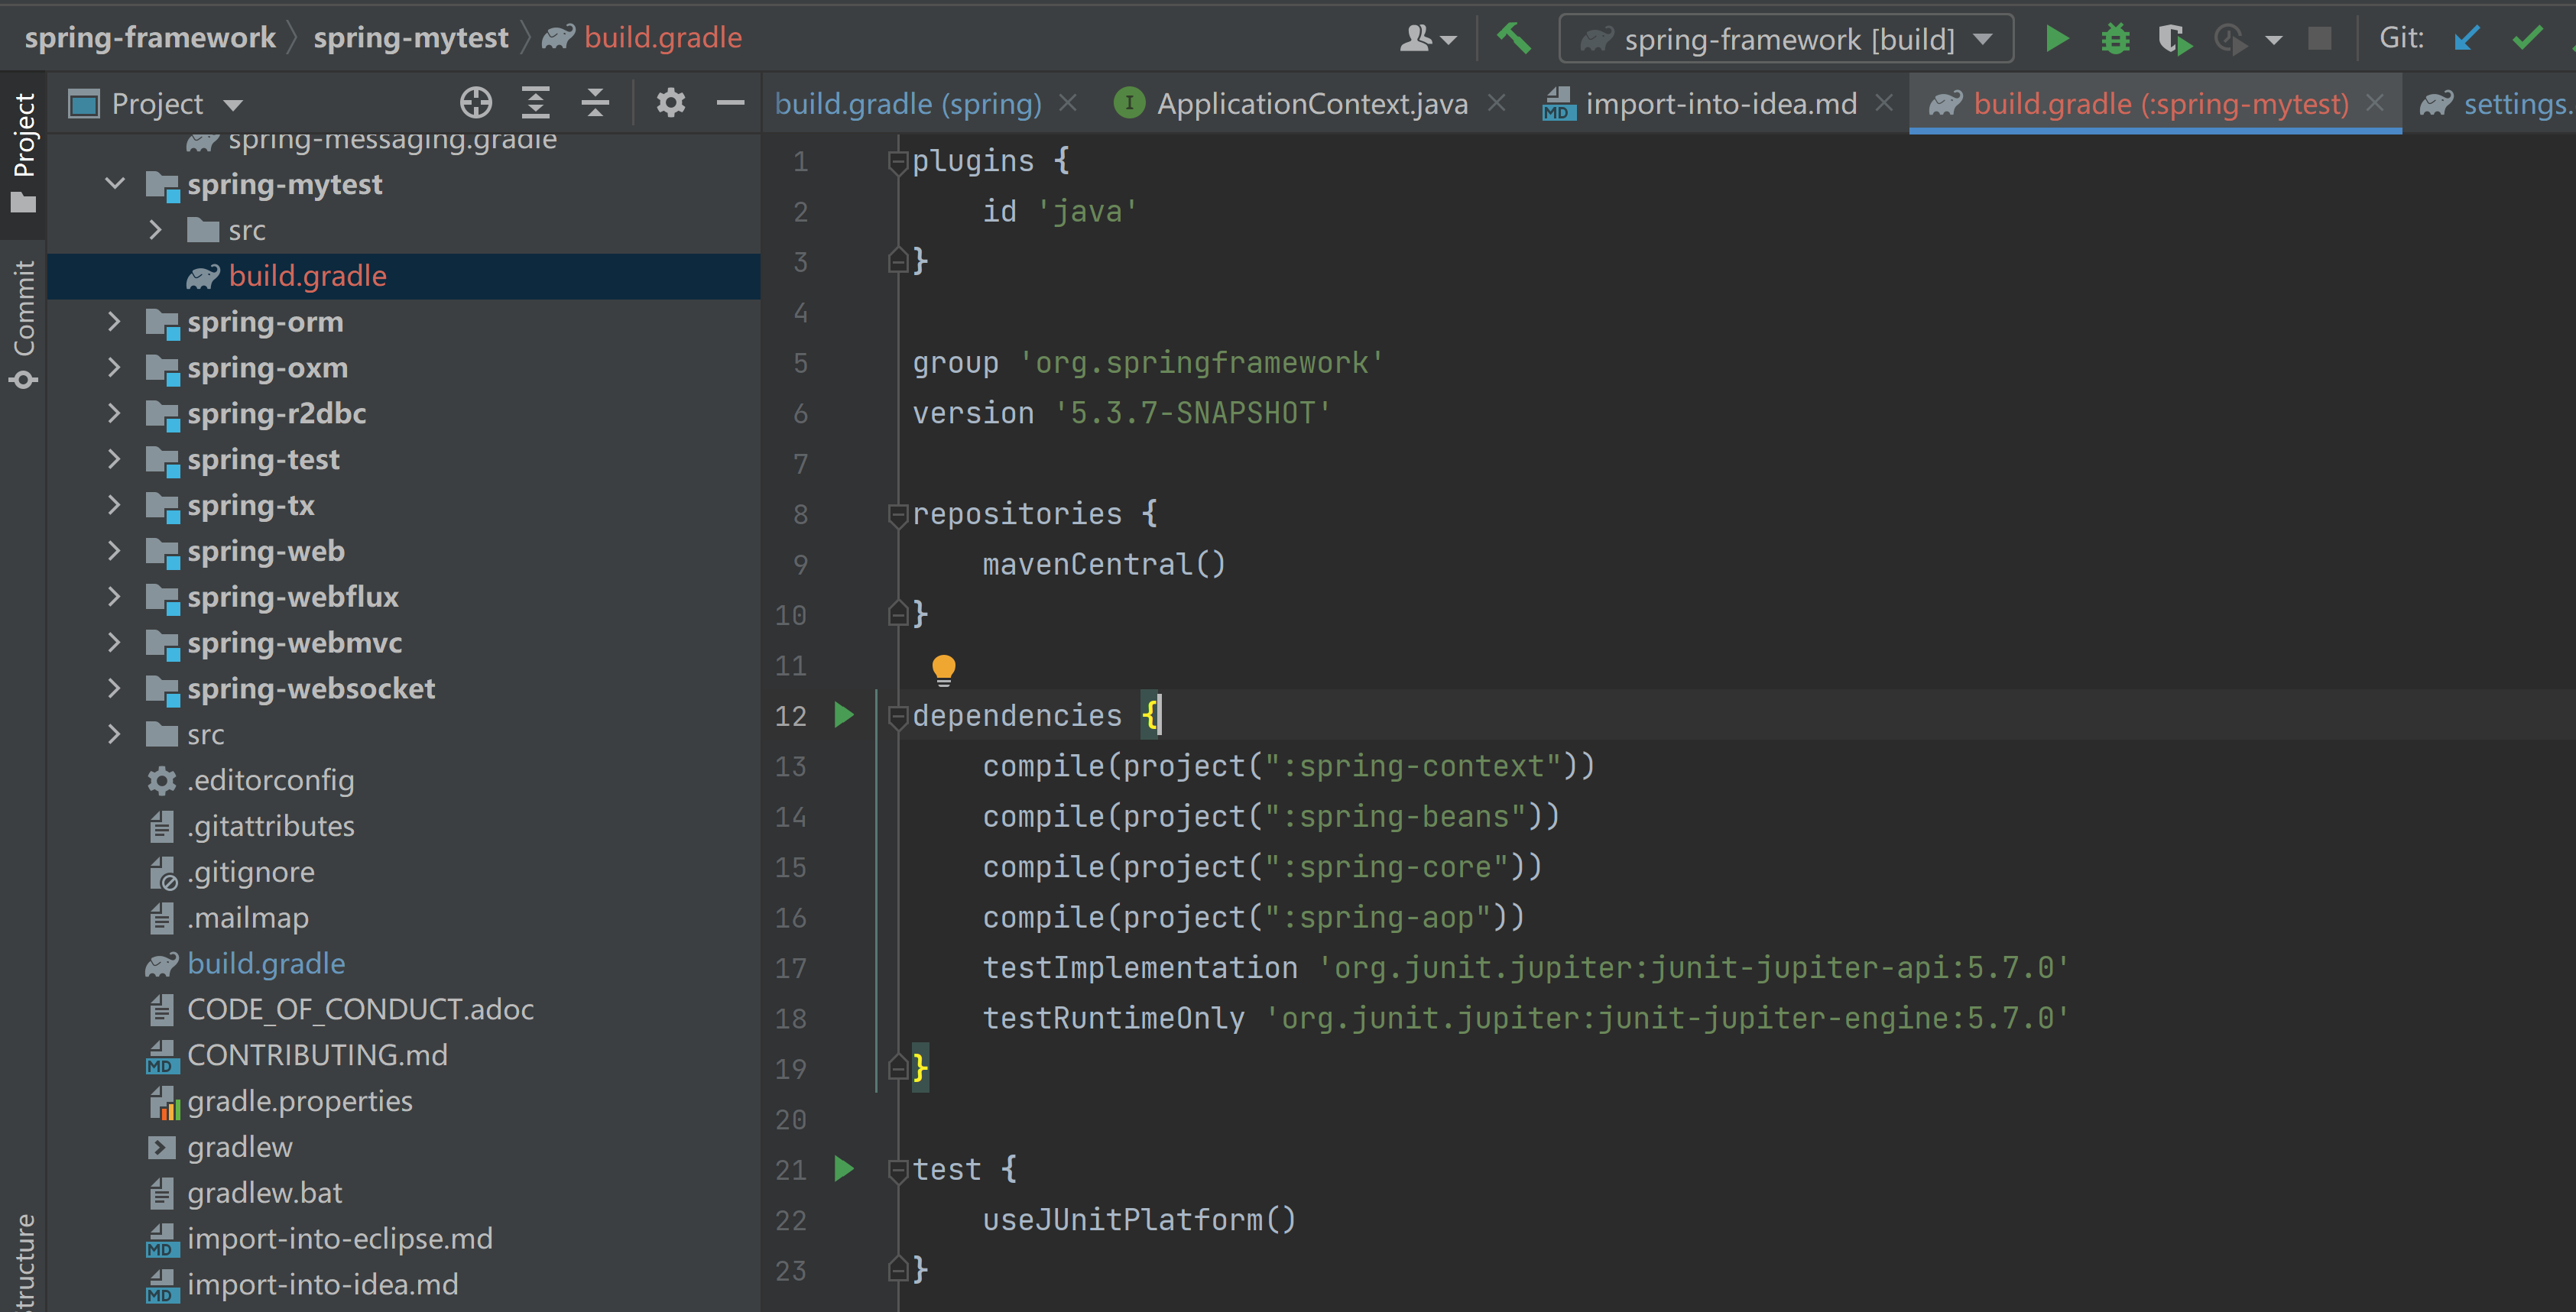
在 spring-mytest 的 build.gradle 中默认的 dependencies 依赖只有 junit ,我们需要手动添加 spring-context , spring-beans , spring-core , spring-aop 这四个核心模块:1
2
3
4
5
6
7
8
9
10
11dependencies {
// 添加之后要build,否则代码中无法使用
compile(project(":spring-context"))
compile(project(":spring-beans"))
compile(project(":spring-core"))
compile(project(":spring-aop"))
// 下面这俩是默认的
testImplementation 'org.junit.jupiter:junit-jupiter-api:5.7.0'
testRuntimeOnly 'org.junit.jupiter:junit-jupiter-engine:5.7.0'
}
在 spring-mytest 的 src.main.java 中新建 com.mx.User 类:1
2
3
4
5
6
7
8
9
10
11
12
13
14
15
16
17
18
19
20
21
22
23
24
25
26
27
28
29
30
31
32
33
34
35
36package com.mx;
public class User {
private String id;
private String userName;
public User(){
}
public User(String id, String userName){
this.id = id;
this.userName = userName;
}
public String getId(){
return id;
}
public void setId(String id){
this.id = id;
}
public String getUserName(){
return userName;
}
public void setUserName(String userName){
this.userName = userName;
}
public String toString(){
return "User{" + "id=" + id + "'" + ", userName='" + userName + "'" + "}";
}
}
新建 JavaConfig.java (使用注解的方式声明 bean )1
2
3
4
5
6
7
8
9
10
11
12
13
14package com.mx;
import org.springframework.context.annotation.Bean;
import org.springframework.context.annotation.ComponentScan;
import org.springframework.context.annotation.Configuration;
public class JavaConfig {
public User user(){
return new User("001", "HuangLiu");
}
}
再添加一个测试类 Test :1
2
3
4
5
6
7
8
9
10
11
12package com.mx;
import org.springframework.context.annotation.AnnotationConfigApplicationContext;
public class Test {
public static void main(String[] args){
System.out.println("hello");
AnnotationConfigApplicationContext context = new AnnotationConfigApplicationContext(JavaConfig.class);
User user = (User) context.getBean("user");
System.out.println(user.toString());
}
}
运行 Test 的主函数: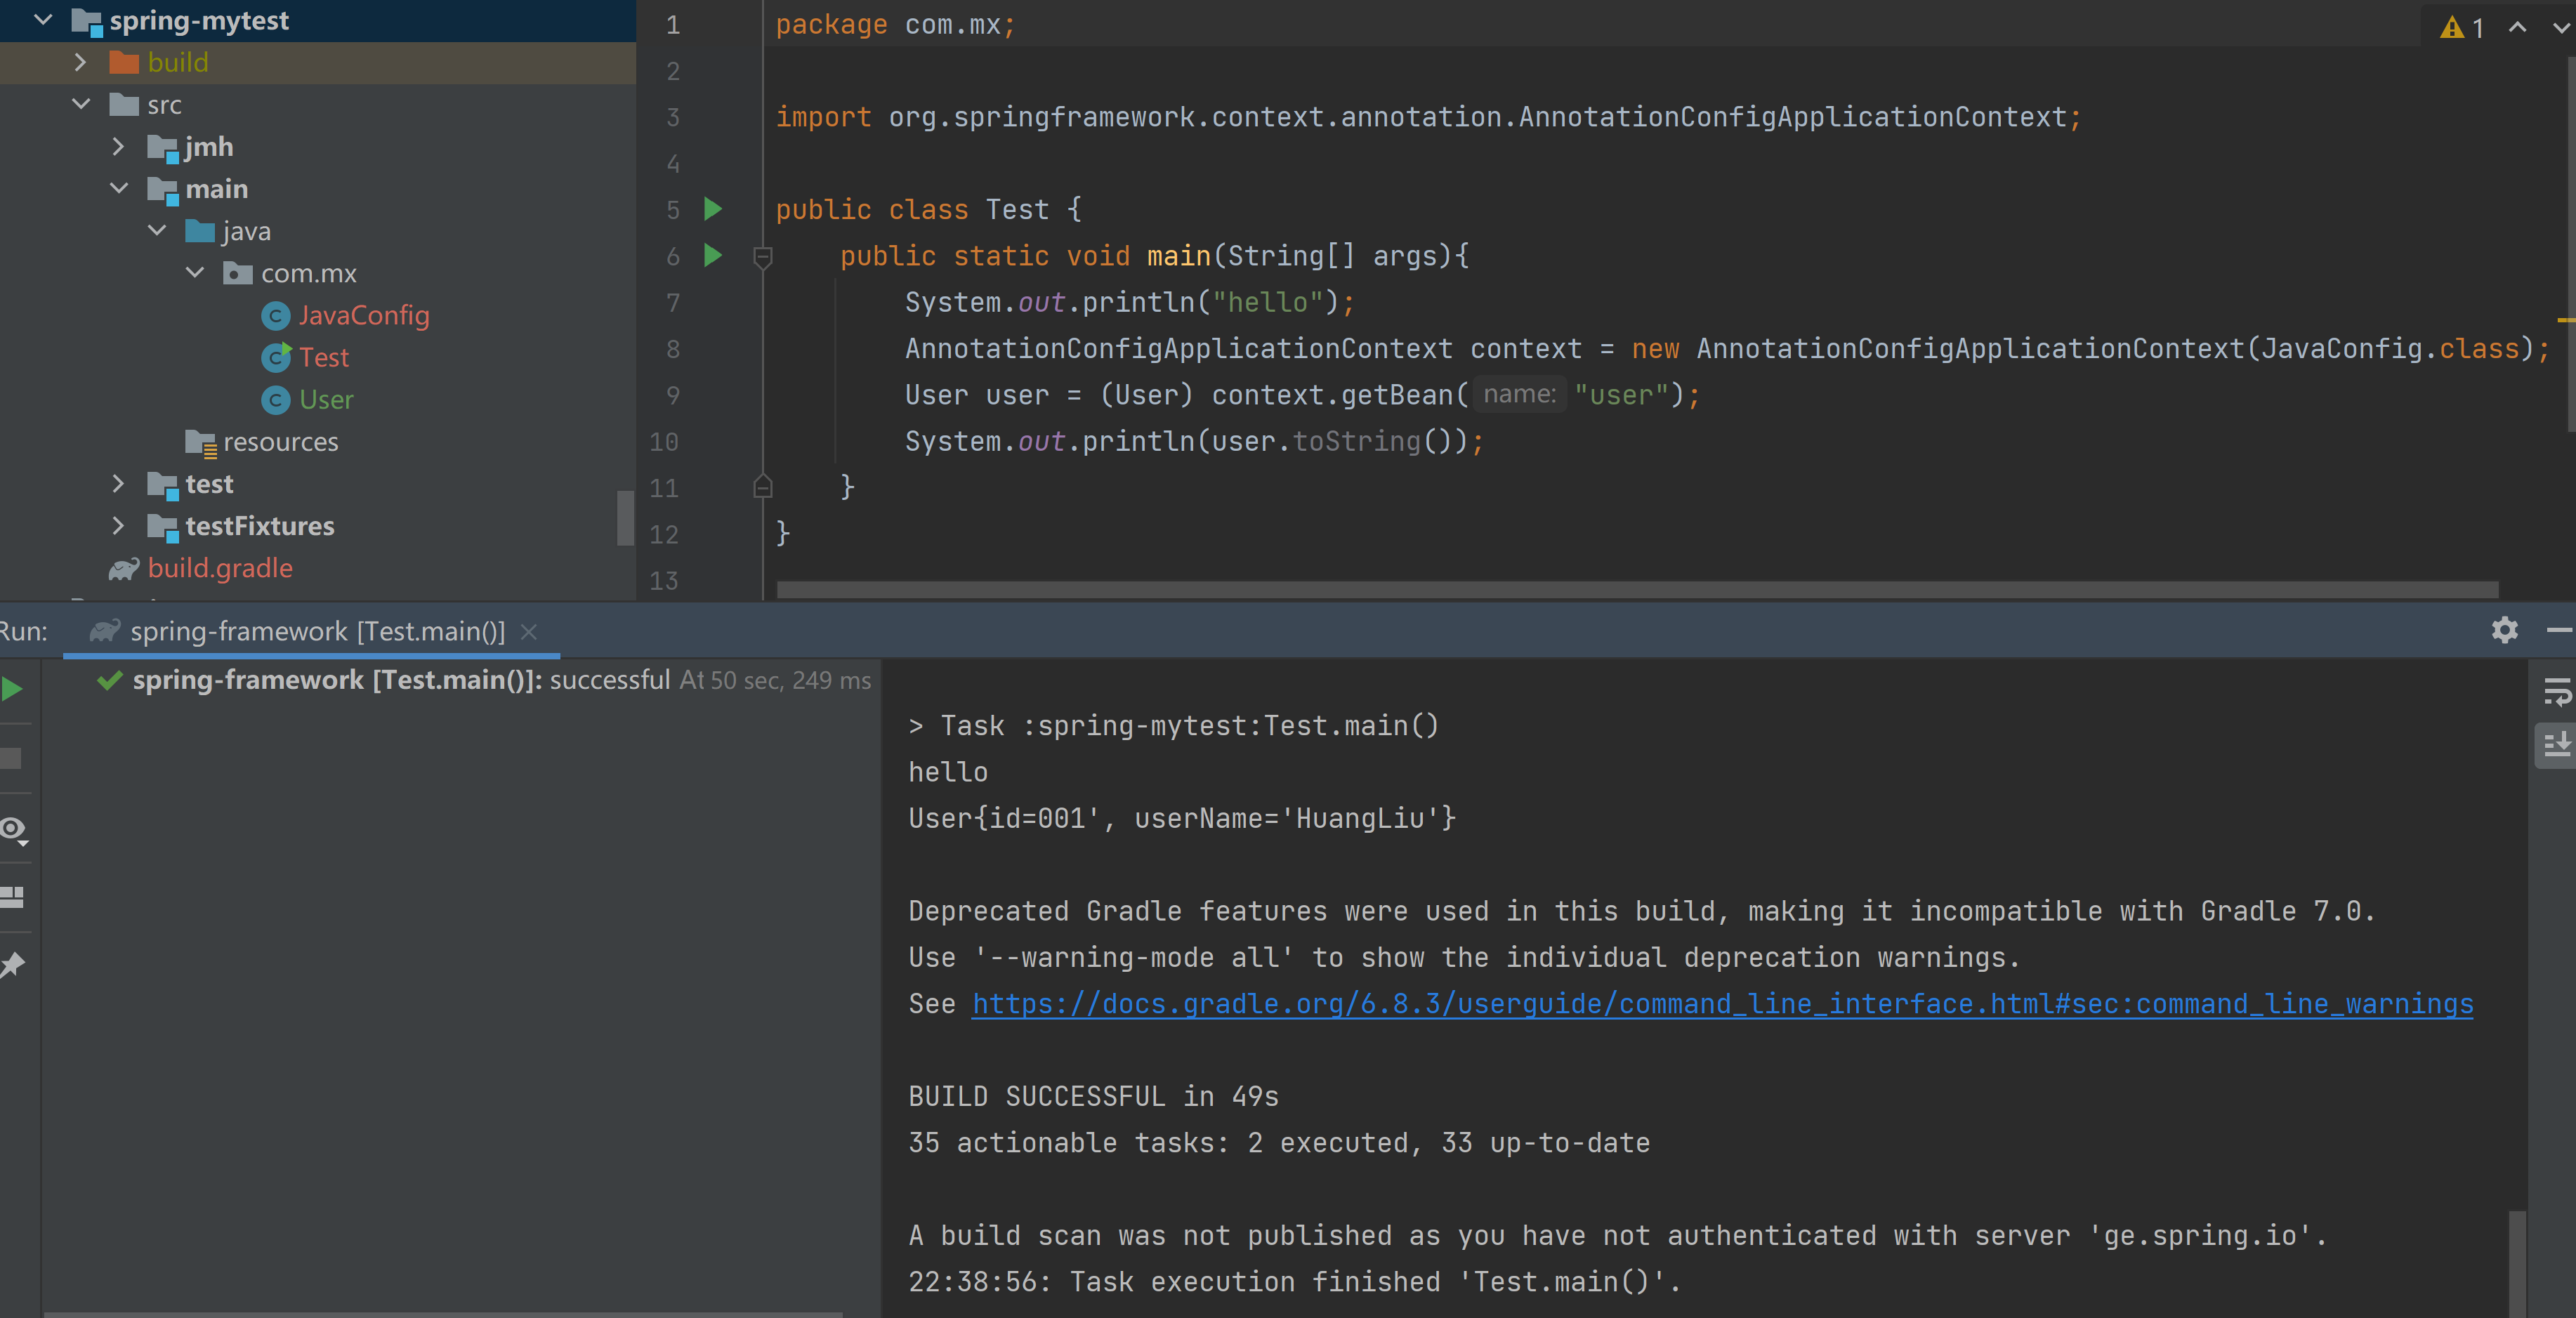
会踩坑的mytest (已解决)
基于XML配置: 清晰明了,简单易用
在 com.mx 中增加一个 HelloWorld 类:1
2
3
4
5
6
7
8
9
10
11package com.mx;
public class HelloWorld {
private String message;
public void setMessage(String message){
this.message = message;
}
public void getMessage(){
System.out.println("Your Message : " + message);
}
}
将 Test 类改成:1
2
3
4
5
6
7
8
9
10
11
12
13
14
15package com.mx;
import org.springframework.context.ApplicationContext;
import org.springframework.context.support.ClassPathXmlApplicationContext;
import java.io.File;
public class Test {
public static void main(String[] args){
System.out.println("hello");
ApplicationContext context = new ClassPathXmlApplicationContext("Beans.xml");
HelloWorld obj = (HelloWorld) context.getBean("helloWorld");
obj.getMessage();
}
}
在 resources 文件夹下新建一个 Beans.xml 配置文件:1
2
3
4
5
6
7
8
<beans xmlns="http://www.springframework.org/schema/beans"
xmlns:xsi="http://www.w3.org/2001/XMLSchema-instance"
xsi:schemaLocation="http://www.springframework.org/schema/beans http://www.springframework.org/schema/beans/spring-beans.xsd">
<bean id="helloWorld" class="com.mx.HelloWorld">
<property name="message" value="Hello World!"/>
</bean>
</beans>
此时运行 Test 文件,会输出配置文件 Beans.xml 中 message 的赋值 Hello World!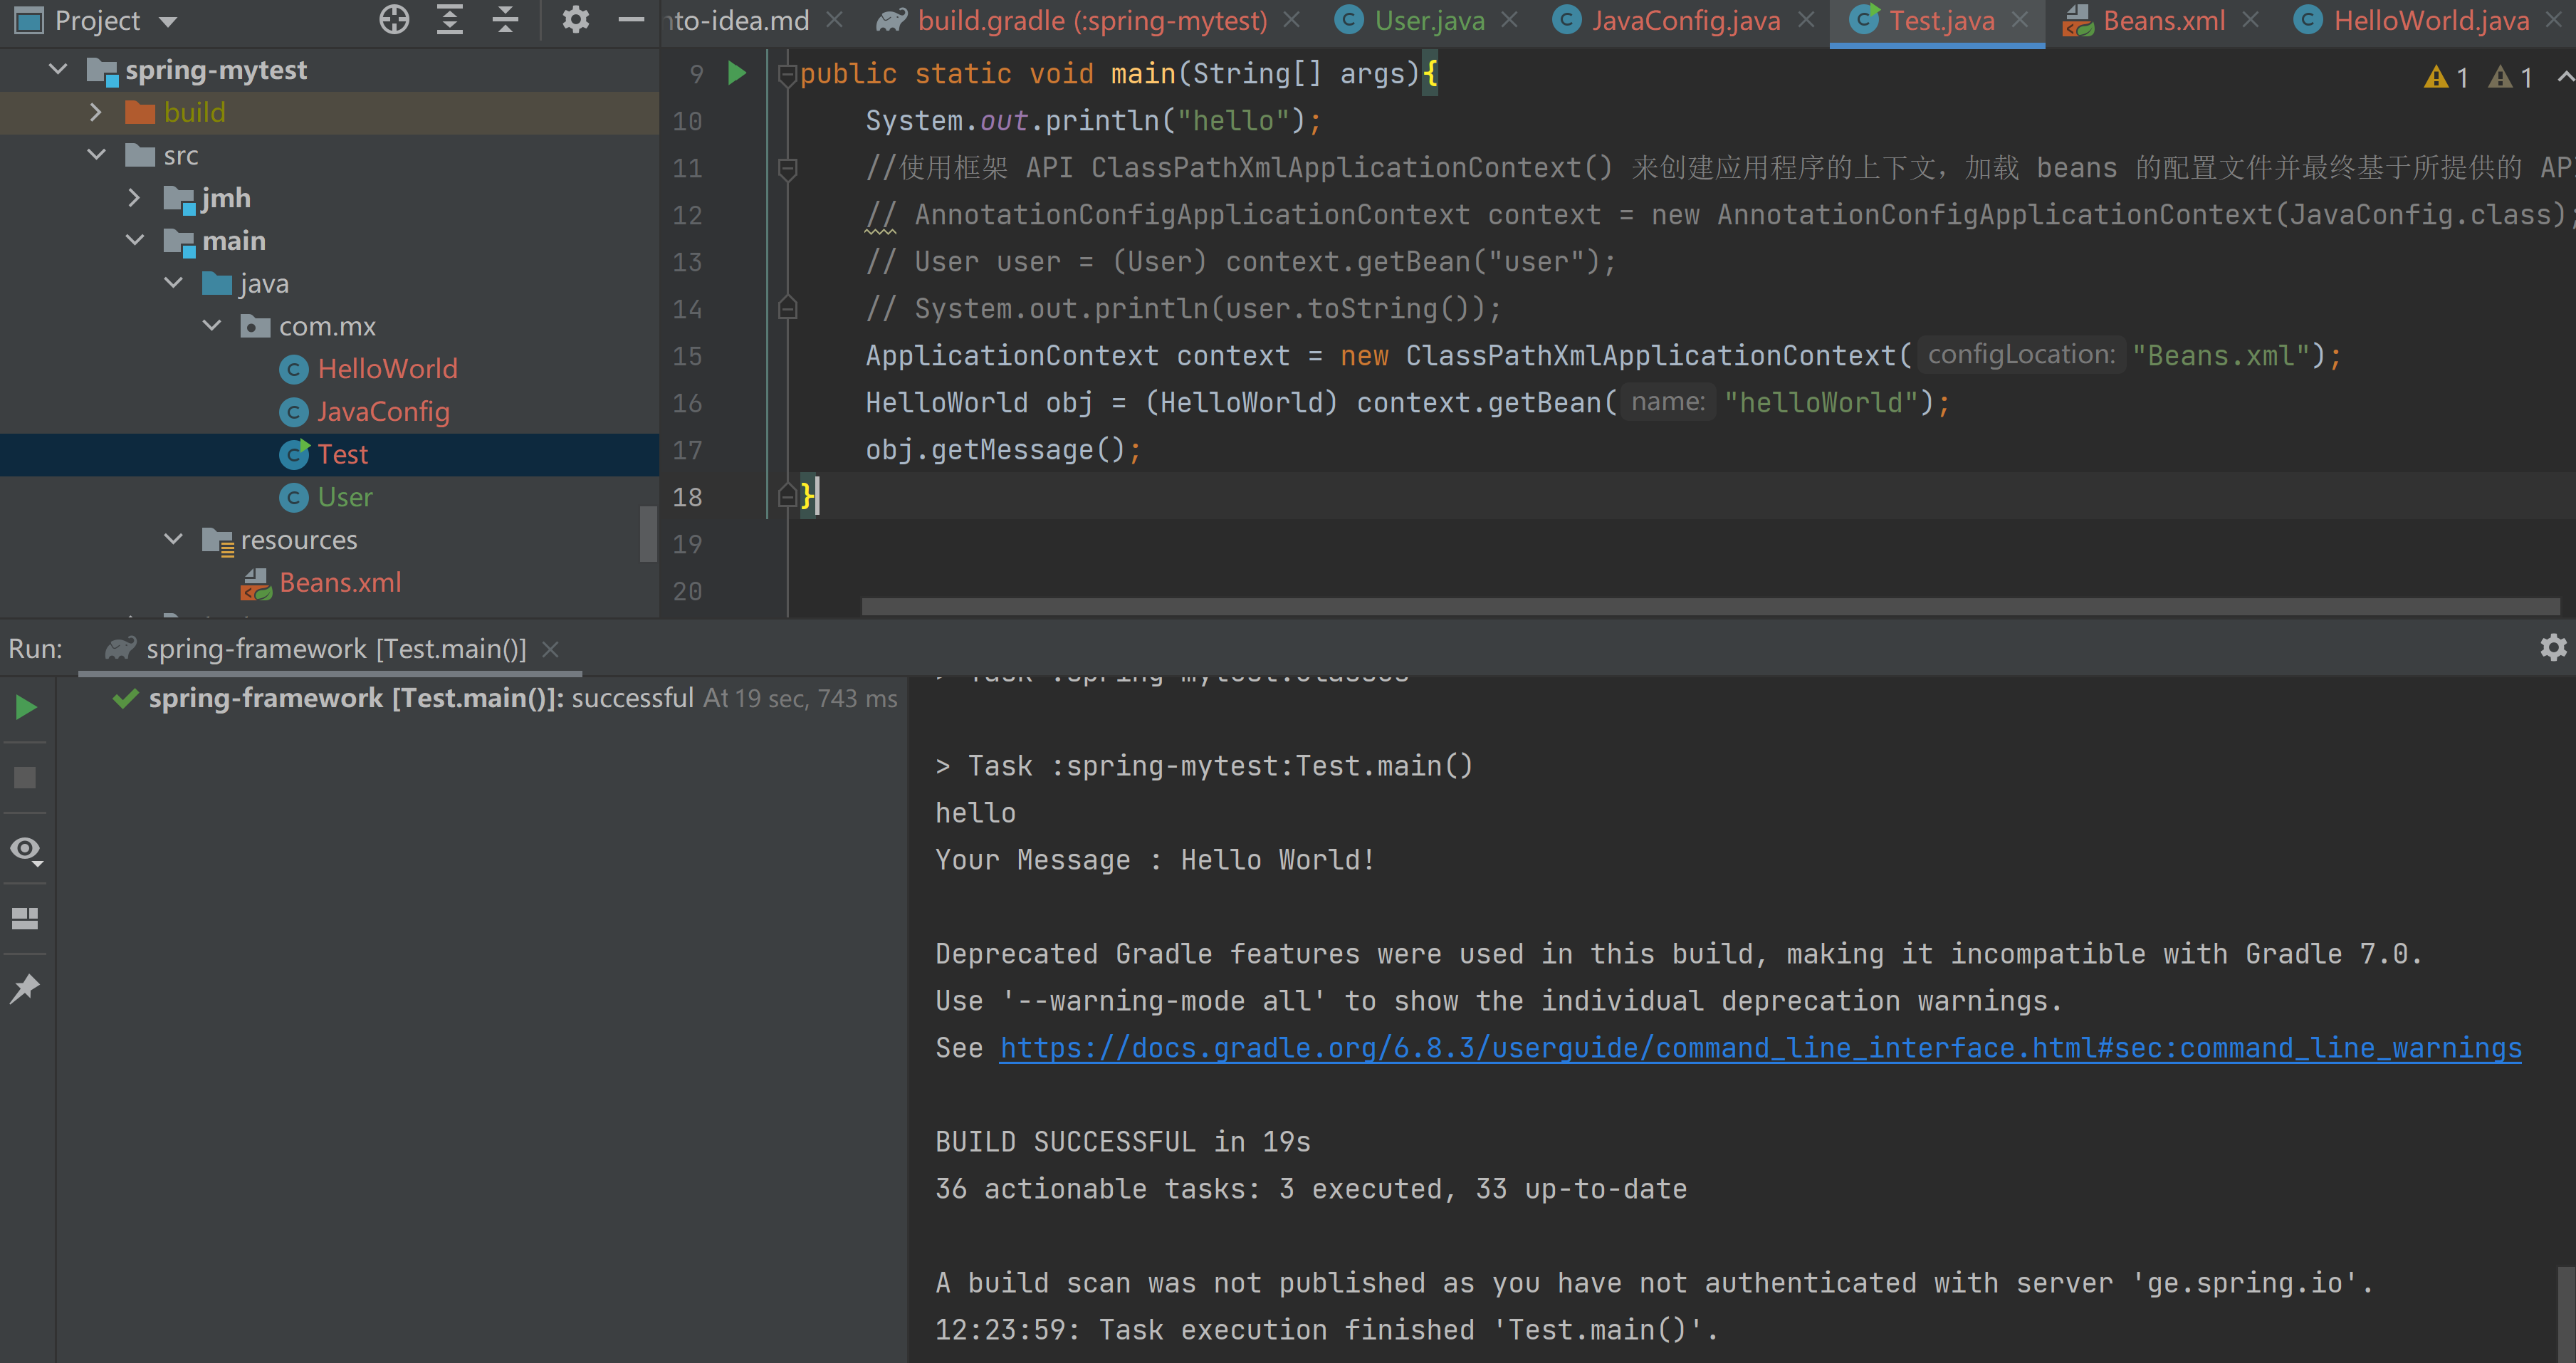
这个 test 会出现问题的地方主要是在 IDEA 中, Beans.xml 的放置位置不当会导致主函数找不到该配置文件。IDEA 中配置文件应该同意放在默认的 resources 文件夹中!
https://blog.csdn.net/weixin_38771884/article/details/88671207?utm_medium=distribute.pc_relevant.none-task-blog-baidujs_title-1&spm=1001.2101.3001.4242
https://stackoverflow.com/questions/12893760/spring-cannot-find-bean-xml-configuration-file-when-it-does-exist